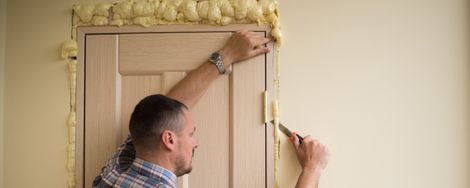
Step 1: Remove the door from the hinges and lay it flat on a pair of saw stands

The first thing you need to do is to remove the door from the hinges. Keep in mind that solid wooden doors are extremely heavy. Then remove the hinges by tapping the pins with a flat screwdriver. Next, lay the door flat on a pair of saw stands.
Step 2: Remove anything that is not wood
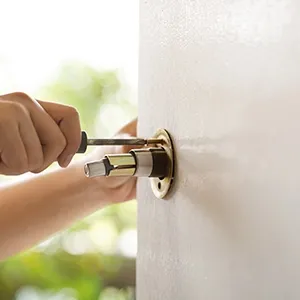
If the door is still in a fairly good condition, it is usually sufficient to give the door a new coat of varnish. Before you start varnishing, remove all door fittings (locks, handles, etc.).
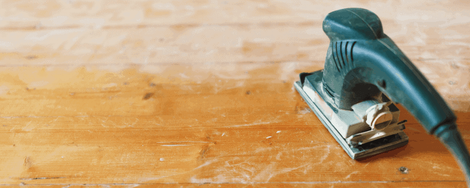
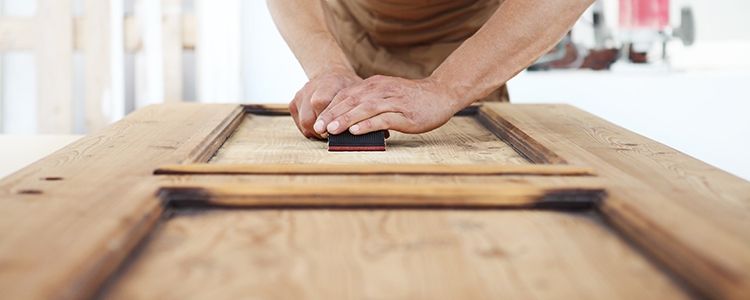
Step 3: Sand the door
Now treat the wood with sandpaper so that all unevennesses are removed. You can use an electric sander for the large surfaces, but the parts where the hinges and the door fittings were located are better sanded by hand.
Step 4: Before you varnish the wood, make it dust-free
Before varnishing the wood, remove the sawdust and make sure the surfaces are dust-free.
Step 5: Apply a layer of exterior varnish
After you have allowed the first layer of varnish to dry, it is important to coat the door with an exterior varnish. Exterior varnish (also called Spar varnish, although it is not actually a Spar varnish as used for boats) differs from indoor varnish because it contains special additives that help protect the wood against wear, moisture, mould and UV rays.
Step 6: Reinstall the door fitting and place the door back
After you have allowed the varnish to dry according to the instructions, install the door fitting again. If you have copper or brass fixtures on the door, this is a good time to polish them.
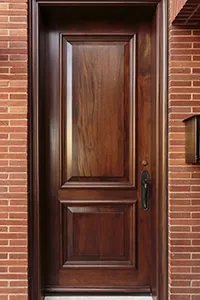
You will realize that renovated doors make your home look very different. Beautiful wooden doors give a warm, homely appearance and enhance the atmosphere. We wish you good luck with this job!