You will need
Materials
- Parquet
- Baseboards
- Wood glue
- Optionally: subfloor
- Optionally: parquet glue (if you want to glue the floor completely)
Tools
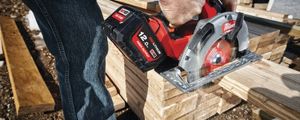
- Jigsaw
- Tape measure
- Carpenter pencil
- Spacers
- Screw drill (to fix the baseboards)
Choose your parquet
The classic parquet is the so-called solid wood parquet. This consists of solid boards of a few centimeters thick. Because wood is and remains a living material, laying a full wooden parquet floor requires some real craftsmanship. If you choose this material, then it might be better to leave the placement to a professional. Laminate parquet flooring is the right choice for the do-it-yourselfer.
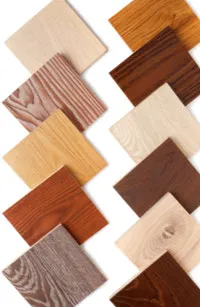
Laminate parquet flooring consists of different layers. The top layer is made of hardwood. You have a wide choice in this, from the best-selling oak to tropical woods or blond ash. A look at the website of a random parquet supplier gives you an idea of the many possibilities.
The bottom layer of laminate parquet flooring consists of plywood, and the intermediate layer is made of crossbars, usually spruce or pine. The big advantage of this construction is that the parquet floor hardly shrinks or expands. The effect of the wood is about 70 to 80% less than with a full wooden parquet.
Calculate how much you need
Measure the length and width of the room where you want to lay the parquet floor, multiply the two outcomes and calculate 10% extra for saw loss. Now you know how many m2 (indicated on the packaging of the parquet parts) you need.
Determine the laying direction
Parquet can be laid in different patterns. The herringbone pattern is classic, but that is something for specialists. In most cases, the boards are laid in the longitudinal direction, but in narrow rooms laying in the width direction can give a nice effect.
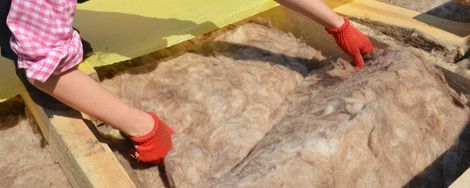
Subfloor, necessary or not?
Parquet must be laid on a completely flat floor. Remove any carpet and glue residues, nails, etc. For concrete or tiled floor, it is recommended to apply a moisture-resistant layer of plastic film. On an uneven wooden floor, you can install a chipboard subfloor. In addition to moisture protection and equalization, other factors also play a role, such as noise reduction, which may be necessary if you have neighbors below. In the shop where you buy the parquet, you will also find different types of subfloors for various applications. Get advice on which is best in your case.
Floating or glued
Parquet flooring can be laid in two ways; fixed or floating. Fixing means that the parquet floor is glued to the surface. With floating installation, the parquet floor rests loosely on the subfloor. The advantage of gluing is that you do not run the risk of seams forming between the boards in the future.
Getting started: Step-by-step plan
- Let acclimatize
Leave the parquet in the packaging for at least 48 hours in the room where you are going to lay it. Place the packages horizontally on the floor, otherwise, you run the risk of the boards warping.
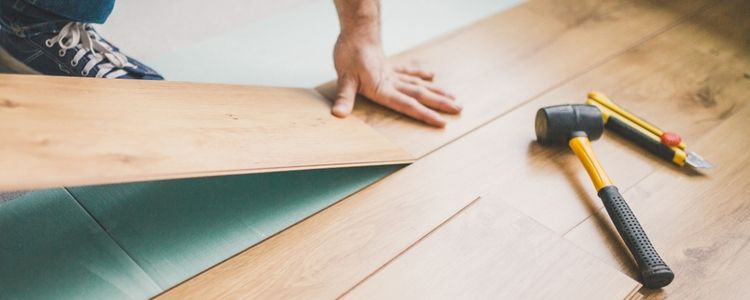
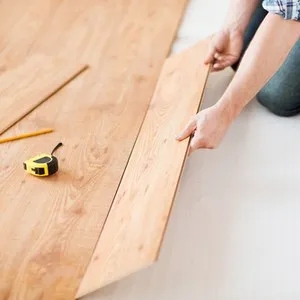
- Lay the first row
Lay the first row of the floor with the groove facing the wall. Start in a corner of the room. Apply some glue to the end face of the next floor section and slide the floor sections together. Tap them with a hammer and a bolt block. After the first row of the parquet has been laid, place the spacers between the row and the wall to leave a joint that will allow the floor to expand.
- Lay the following rows
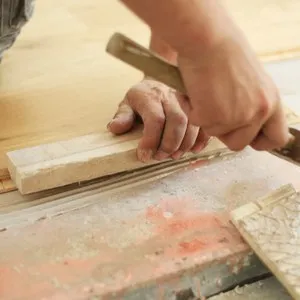
Start the next row with the sawn part that remains from the first row, unless it is shorter than 50 cm. Joining the parts together is easiest if you hold the new board at an angle of approximately 30 ° and when the tongue snaps into the groove, press it onto the floor. Tap with the hammer and the bolt block. Do not forget to always apply some glue to the groove on the long side and the end face of the floorboards. Use a damp cloth to wipe off any glue residue.
Tip: Use parts from different packages together for a natural variation. This way you avoid two boards from the same tree with the same pattern lying next to each other.
- Overcome obstacles
For obstacles, such as, for example, heating pipes, you use the jigsaw to saw a piece from the board. Make the recess 10 mm larger due to the expansion of the floor. You can cover the holes with a rosette.
- Lay the last row
It would be great if the last floor part would fit exactly. In practice you will have to saw the last boards lengthwise to size. To do this, measure the space between the wall and the previous row on both sides, because walls are often not completely straight. Mark this on the last boards and saw them to the right size.
- Finishing
All you have to do now is remove the spacer blocks, apply the baseboards and possibly give your new parquet floor a protective layer of maintenance oil.
Tip: Seeing how a professional approaches something often helps more than the best explanation we can give. Take a look on YouTube. There you will find a number of instructional videos about laying a parquet floor.