When the power requirement is greater than an existing group can handle, the fuse in the fuse box switches off the power supply. You often notice this after purchasing a new electrical appliance. Tumble dryers, dishwashers, induction hobs, and electric heating systems consume a lot of power. For example, the washing machine and dryer both quickly consume 5000 Watts, while the maximum load of one group is usually 3680 Watts.
By installing an extra group, you can prevent overloading the existing groups, and the power will be better distributed. You can create an extra group by installing a new fuse in the fuse box. Although this is not considered a dangerous job, it is necessary to work carefully and comply with the legal regulations for your safety.
When is installing an extra group not a good idea?
A maximum of four groups may be connected to one RCD. If the new group is the fifth group, install a new earth leakage circuit breaker. Not every group box offers space for extra groups or RCDs. If that is the case, it is wise to have a new distribution box installed with room for any (future) expansions. The same advice applies to fuse boxes from before 1975 or thereabouts, which still contain the old white fuses.
Materials
- Fuse – make sure the brand matches the group box
- Possibly: earth leakage circuit breaker – make sure that the brand matches the group box
- Installation wire
These tools come in handy:
- voltage tester
- Screwdriver set
- wire stripper
- combination pliers
- nippers
Installing an extra group step by step
We assume that a new cable has already been installed in the fuse box. If this is not the case yet, you will find the following information on pulling cables useful.
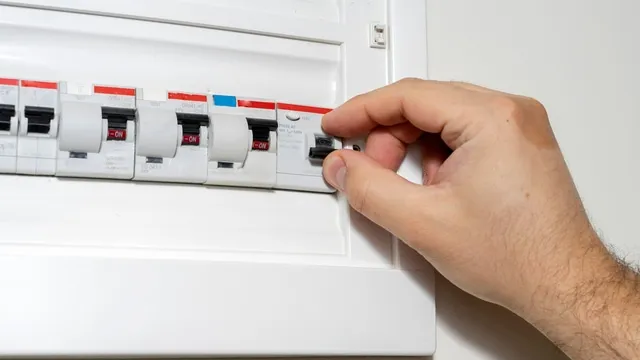
- Turn off the power at the main switch. Remove the front of the fuse box and check with the voltage tester that there is no voltage left on the part after the main switch.
- Connect the brown phase wire from the new cable to the L terminal on the top of the new fuse.
- Connect the blue 0 wire of the new cable to the N connection of the new fuse.
- Connect the yellow-green ground wire from the new cable to the earth leakage distribution block. This is usually located under the fuses and has the symbol for earth, three lines below each other.
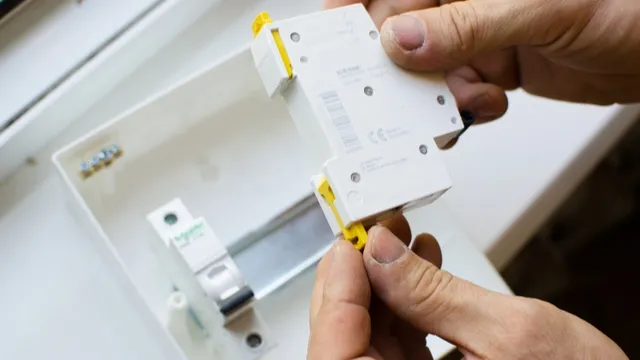
- Click the new fuse into the plastic ledge of the fuse box.
- Now connect the lower poles of the fuse to the poles at the top of the RCD. Use six mm2 thick installation wire for this. The brown wire (L) goes from the fuse to the left pole (marked n°1) on the RCD. The blue wire (N) goes from the fuse to the right pole (marked °3 or N).
- Remove one of the pre-punched covers from the front of the group box to make room for the extra group.
- Close the fuse box, turn the main switch and check whether everything works properly. The voltage on the new line should drop when you push the switch down.